

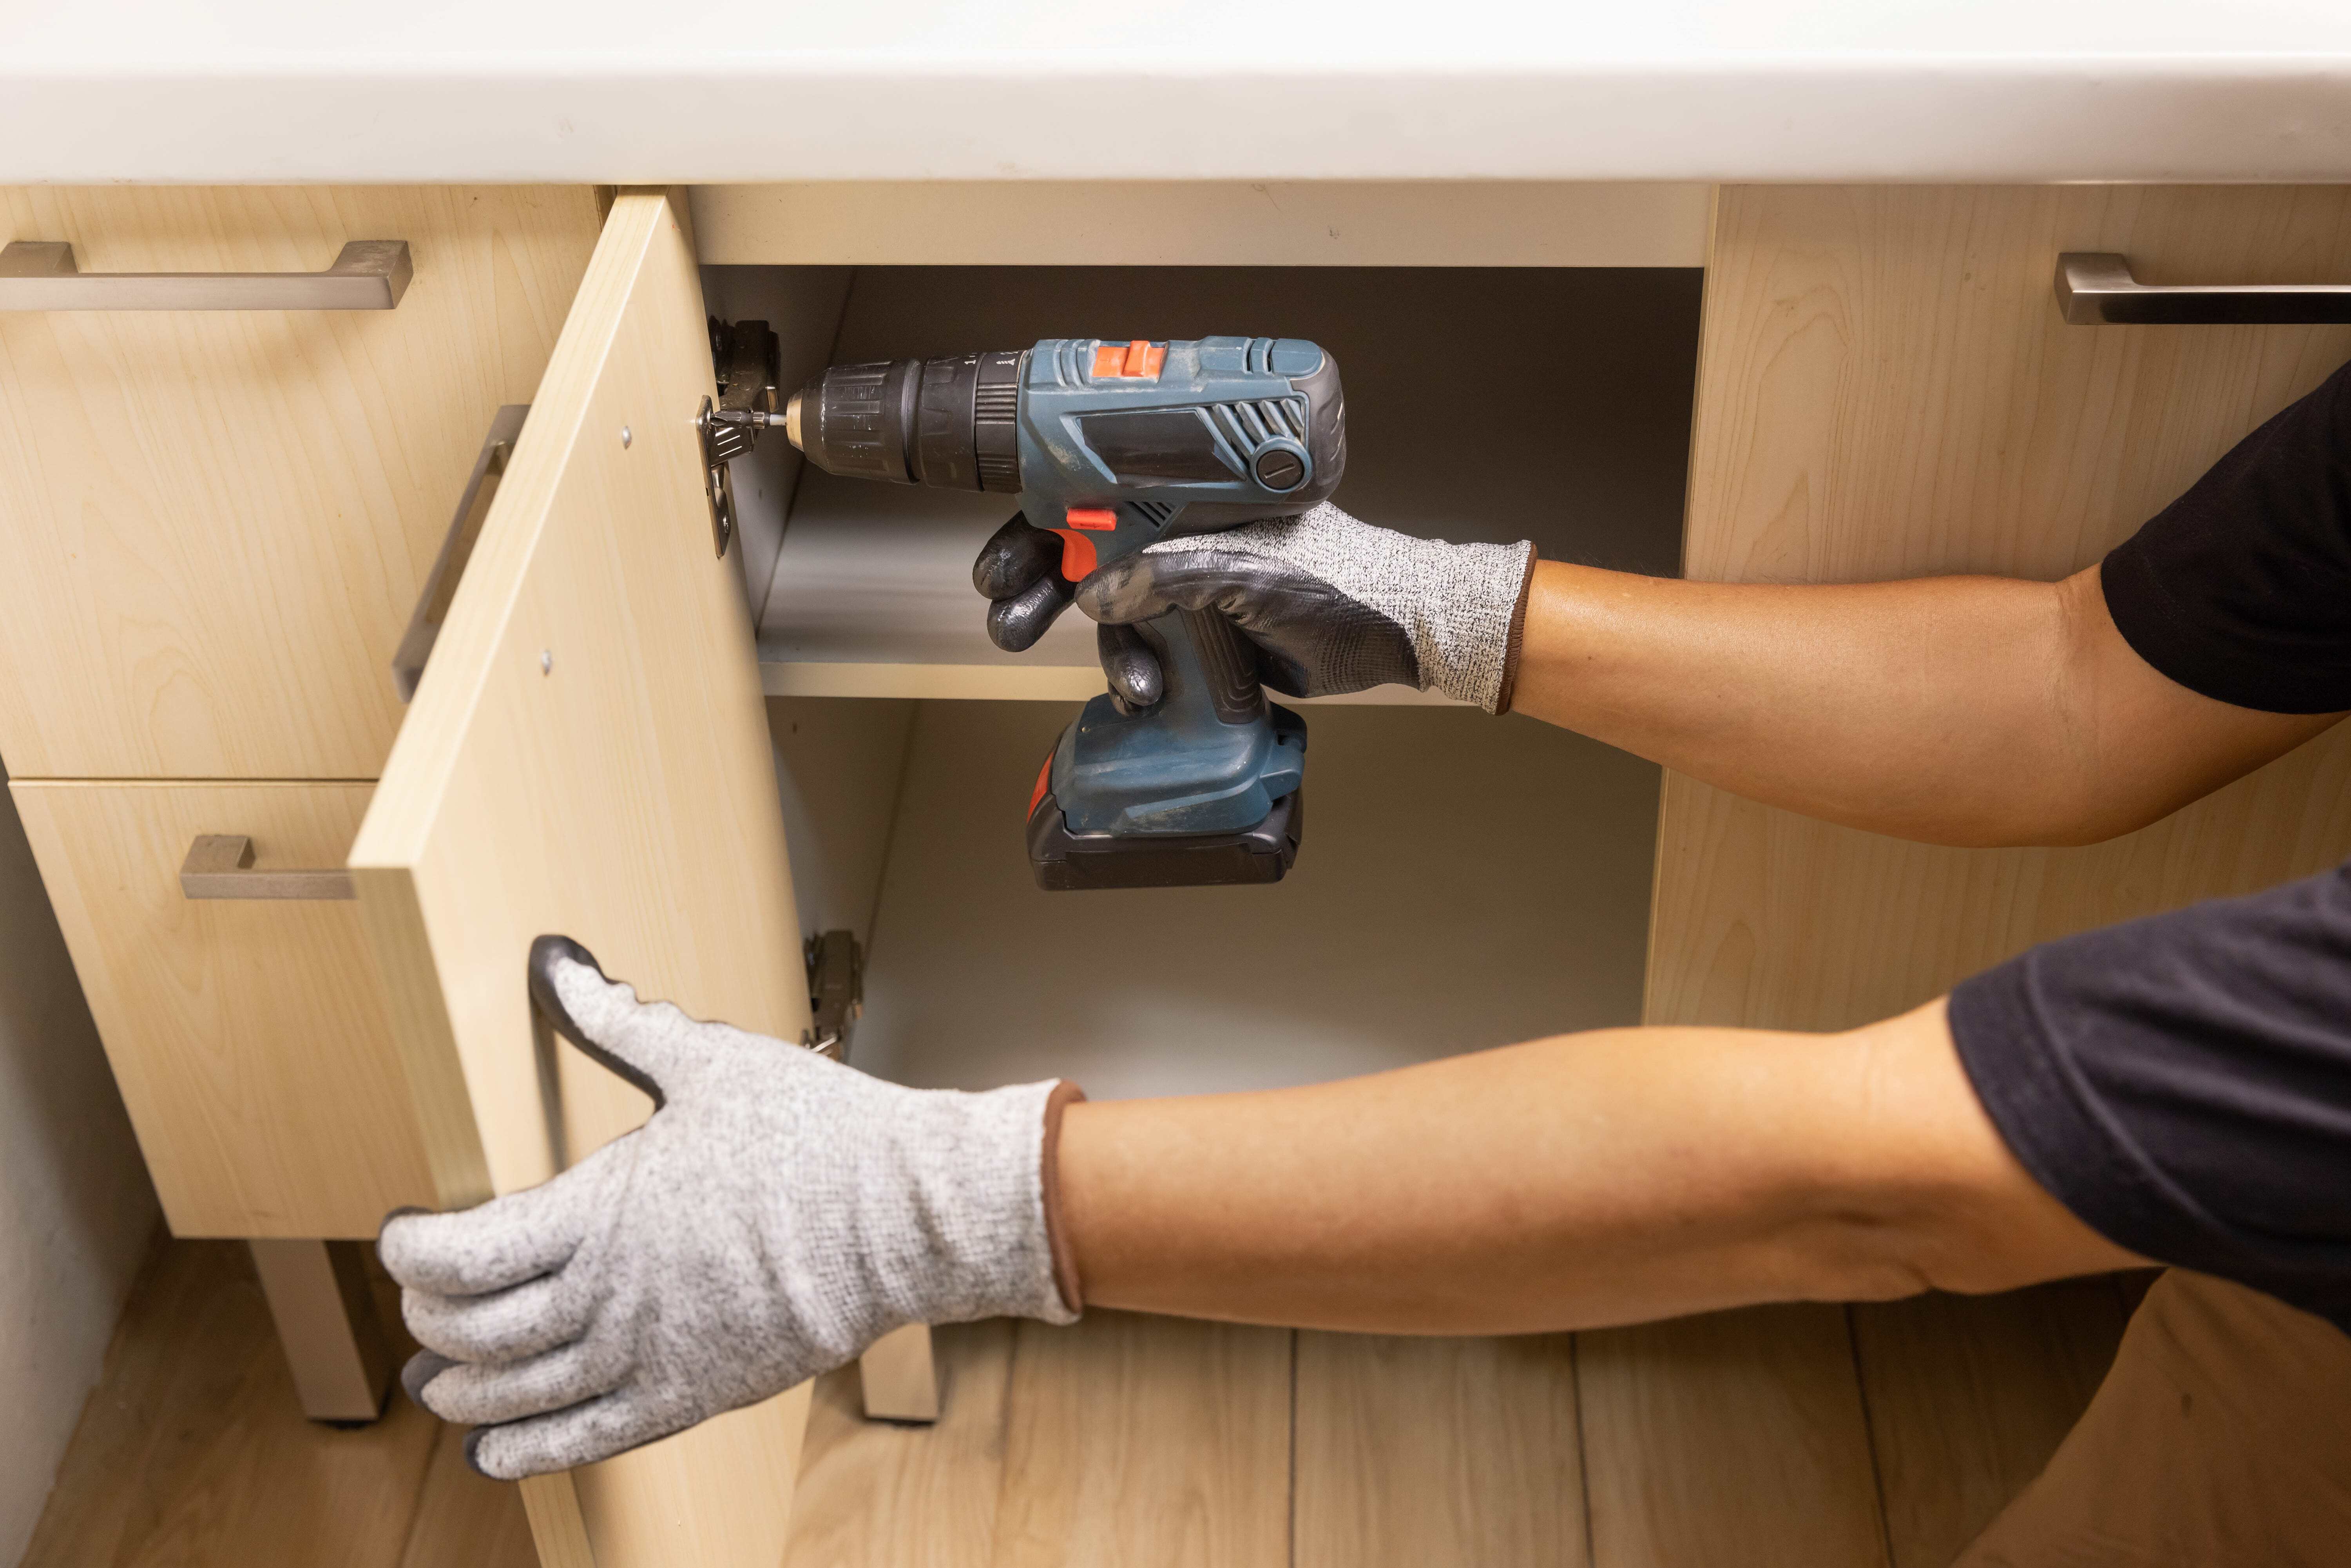
Cabinet Door Replacement Cost and Install Guide for Pros
Published by
Stephanie Mickelson
on
Doors built to the wrong overlay, bored for a hinge nobody stocked, or shipped primed to a jobsite that expected them finished: each one costs you a second trip and a second order, and each one was decided before the order went in. Every one of them is preventable at the schedule stage, before a single door is ordered.
In this article:
- Is cabinet door replacement right for this job?
- What affects cabinet door replacement cost?
- Confirm the door specification before ordering
- Measure and check hardware before placing the order
- Expert Eagle Insight
- Prepare the retained cabinets and finish the new doors
- Install the doors and check the final fit
- Order with the replacement scope confirmed
- Frequently Asked Questions
Is cabinet door replacement right for this job?
Doors-only replacement keeps the boxes, face frames, and layout in place. You swap the doors and drawer fronts, and usually the hinges. Refacing goes a step further and covers every exposed box surface with veneer or paint to match the new fronts. Full replacement pulls the boxes and starts over.
Start by checking the boxes you intend to keep. Look for square, solid carcasses, face frames that are intact where the hinges attach, and no swelling or delamination from water. Confirm the layout stays as it is. A faded or scratched face frame is a finish question you'll answer later, and on its own it doesn't push the job into a tear-out.
Once the boxes pass, lock the scope in writing before anyone measures:
- Doors, with a count per cabinet
- Drawer fronts, counted separately from doors (they're built without hinge boring and mount to the box)
- Drawer boxes, retained or replaced (fronts aren't included with a drawer-box order)
- Exposed box and face-frame surfaces, and how they'll be treated
- Hinges, reused or new
- Pulls and knobs, reused or new
What affects cabinet door replacement cost?
Most quote confusion on a replacement job comes from comparing quotes with different scopes. One supplier prices doors and fronts only, another adds hinges, boring, and shipping, and a third prices the installed job. None of those numbers compare until you line up the inclusions.
Write the scope once and hand the same sheet to every supplier and sub.
|
Scope item |
What to specify |
What to confirm is included |
|
Door and front quantities and sizes |
Count per opening, finished width and height for each piece |
Every opening on the schedule is priced, drawer fronts counted separately from doors |
|
Material, construction, and profile |
Frame construction, center panel type, wood species or MDF, profile selections |
The same construction and panel on every quote, no substitutions |
|
Finish state and final finishing |
Unfinished or primed, and who applies the final paint or stain |
Whether priming, painting, or staining is in the supplier's price or in your labor |
|
Hinges, boring, and pulls |
Hinge model and application, boring pattern, pull-hole spacing |
Whether hinges ship with the doors, and whether boring matches the hinge specified |
|
Retained-surface preparation |
Cleaning, filling, sanding, painting, or veneering of exposed box surfaces |
Whose labor and materials cover it |
|
Delivery and installation |
Ship-to address, freight or parcel, who hangs and adjusts the doors |
Freight terms, and whether install labor is a separate line |
The first three rows drive the door price, and they need real numbers before a supplier can quote at all. Sixteen doors and six fronts in one profile is a different order from the same count split across two profiles and a mix of painted and stained finishes. Settle the schedule and the material choice before you ask for pricing, or you'll be quoting twice.
The whole-job number comes from the last three rows. Hardware you supply yourself comes off the supplier's quote and goes onto your material list. Finishing you subcontract shows up as a separate invoice with its own lead time. Installation is your labor or your sub's.
Confirm the door specification before ordering
Door specification splits into three decisions that often get made as one: the frame construction, the center panel, and the profile, all driven by the finish you intend. A 5-piece door has a hardwood frame around a center panel that can be MDF, veneer, or solid wood. MDF doors come as 1-piece or 2-piece construction, and slab doors have no frame at all. Settle the finish first, then the construction, then the panel and profile.
Three routes cover most replacement jobs.
|
Route |
Material and finish choice |
Profile or appearance check |
Who completes the finish |
|
Painted finish |
Paint-grade maple or MDF, primed or unfinished |
Profile chosen from the supplier's available options; sample approved |
Your painter or finisher, after delivery |
|
Visible wood or stained finish |
Stain-grade species, panel type chosen to suit the look |
Species, grain, and profile confirmed on a sample |
Your finisher, with stain and topcoat matched on site |
|
Replacement among retained doors |
Same construction and species as the existing doors where possible |
Dimensions, profile, grain, finish, and pull-hole spacing compared side by side |
Your finisher, blending to the existing color on site |
Paint-grade maple and stain-grade maple are different materials, even though both are maple. Paint grade allows color variation and small defects that paint will cover. Stain grade doesn't. Specify which one you mean, or the supplier will pick one for you.
Replacing one or two doors in a run of older doors means matching a profile that may no longer be a standard option, and a finish that has aged. Compare the existing door against a physical sample for size, profile, grain, and finish before you commit. A photo tells you the style, and nothing about whether the framing bead is a sixteenth off or the panel sits at a different depth.
Our own doors follow the same split: they ship unfinished or primed and are built from combinations of our profiles. We don't paint or stain, replicate an old custom profile, or match an existing finish color, so the color match on a single replacement is your finisher's job on site.
Measure and check hardware before placing the order
Gather these before you touch a door:
- Tape measure and a square
- Pencil and labels for each opening
- A blank component schedule (columns below)
- A driver with the bits your hinges call for
- Clamps or a helper to support doors during removal and hanging
- A hinge-boring jig or Forstner bit only if you're boring on site
If you're replacing doors at the same size with the same hinge setup, confirm the existing fit first. Open and close each door, check the reveals, and make sure nothing binds. Then measure across the back of the existing door, edge to edge, for width and height, and record it to the nearest 1/16 inch. Suppliers build to the finished door size you give them, so what you record is what gets built.
When you're changing the overlay, moving from partial to full overlay, or switching hinge types, the old door is no longer a template. Measure the opening, decide the actual overlay or the inset reveal for the new hinge, confirm the hinge specification, and only then calculate finished dimensions. The overlay is your call, and it's the number the supplier can't check for you. When you need the sizing rules, check the door-sizing instructions for the door style and application you're ordering.
Record everything on one schedule with these columns:
- Opening ID
- Component type (door, drawer front, false front)
- Quantity
- Finished width and height
- Material, style, and finish
- Hinge side, hinge model, and boring pattern
- Pull-hole spacing, retained or new
Hinge compatibility is the row people skip. A hinge that looks fine on the old door still has to match the new door's cup pattern and mounting, and it has to suit the overlay you just decided on. Cup-only boring and cup-plus-dowel boring serve different attachment methods, so the hinge you name on the schedule is the hinge the boring gets built for. Confirm the actual hinge model before you specify boring, and if you're buying hinges with the doors, have the supplier match the two.
Expert Eagle Insight
Profiles are where partial replacements go sideways, because every manufacturer cuts its own. Two doors both sold as "shaker with a bead" can differ in bead radius, panel depth, and how the framing detail meets the stile - small differences that are invisible in a catalog thumbnail and obvious the moment the new door hangs beside an old one. Before ordering a match, measure your existing profile instead of eyeballing it - bevel radius, profile width, and depth are the details that decide whether a match reads clean, and our product guide publishes the framing bead, center panel, and outside edge profiles individually so you can compare your numbers against the drawings directly.
It's also worth understanding why nobody just copies your old profile. Cutting a new profile means having custom knives ground for the shaper or moulder - a real tooling expense that makes one-off reproduction wildly uneconomical, which is why we build only from our own profile library, and why any shop that will copy a profile charges accordingly. That leaves two sensible paths on a match job, and the client should pick one deliberately: accept the closest available profile and its minor variation, which most people stop noticing within a month, or replace the full run so every door matches perfectly - new profile, new finish, no comparison standing next to it.
Prepare the retained cabinets and finish the new doors
Check the delivery against the schedule before you unpack the whole order. Count doors and fronts by opening ID, confirm sizes on a few pieces, and check that the boring matches the hinge you specified. A wrong piece is far cheaper to sort out before your finisher has put three coats on it.
Tag each door and its hinges with the opening ID as you remove it, back out the hinge screws with a helper supporting the door, and set retained hardware aside in labeled bags. Doors you're discarding still get the support; a door that drops on the way out can crack a face frame you were planning to keep.
With the doors off, fill old screw holes that won't be reused, sand the face frames, and repair any hinge attachment point that's loose or stripped. If the agreed scope includes painting or veneering the exposed box surfaces, that work happens now, before any new door goes on. Veneer work beyond a face-frame touch-up is refacing, and it has its own process.
A primed door is sanded and sealed for paint, and it still needs the specified topcoats before it's ready to hang. An unfinished door needs the full finish schedule. Confirm who paints or stains, when the product is cured enough to handle, and when it's cured enough for hinges and pulls. Use the finish manufacturer's recoat and cure times rather than a rule of thumb.
Until they're finished and hung, store doors flat, stacked with spacers, in a climate-controlled space. A garage in August or a jobsite with the heat off will move a door before it ever sees a hinge.
Install the doors and check the final fit
Hang one door before you hang the run:
- Dry-fit the hinge cup in the door before driving any screws.
- Attach the door side of the hinge using the method the hinge is built for.
- Mount the cabinet side or mounting plate on the box.
- Support the door and hang it.
- Check the reveals, the swing, and the close.
- Repeat across the run once the first door is right.
- Adjust, then recheck every door after the last one goes on.
Attachment methods differ by hinge, and the instructions for one won't cover another. Blum's CLIP top line alone ships in screw-on, press-in, EXPANDO, and INSERTA versions, each with its own attachment, and the system adjusts in three directions after hanging, according to the hinge manufacturer's assembly instructions. Don't re-drill a pre-bored door because a generic guide said to. For the mounting detail on the hinge you specified, follow the cabinet hinge installation steps for that model.
Once the run is up, walk it with this checklist:
- Reveals match the intended gap on all four sides and line up door to door
- Every door swings fully with nothing in the way
- Adjacent doors and pulls clear each other through the full swing
- Every hinge screw and mounting plate is tight
- Doors close flat and stay closed
- Soft-close, where specified, engages on every door
Adjustment screws cover small misalignments only. If you're at the limit of the adjustment and the reveal still isn't right, the door or the hinge on the schedule is wrong, and the fix is a corrected component.
Drawer fronts mount to the drawer box rather than swinging on hinges. Align each front to its neighbors with the box installed and the slide adjusted, then fasten from inside the box. The slides themselves are a separate job.
Order with the replacement scope confirmed
Before you request a component quote, you should have a checked schedule with an ID for every opening, a confirmed hinge model and boring pattern, one agreed material and finish route, and a written line on who owns finishing, hardware, and installation. That sheet is the quote request.
Build the project schedule in stages that don't overlap: supplier production, delivery, finishing, and installation. Confirm the current quoted timing on your order acknowledgement rather than penciling in a number from memory.
When the schedule is ready, send it to us for custom cabinet doors built to your measurements, with the boring matched to the hinge you specify and no minimum order, so a single replacement door gets the same process as a full kitchen.
Frequently Asked Questions
Can you replace cabinet doors without replacing the boxes?
Yes, as long as the boxes are square, solid, and sound where the hinges attach. Doors-only replacement keeps the carcasses, face frames, and layout and swaps the doors, drawer fronts, and usually the hinges. If you also cover the exposed box surfaces with new veneer or paint, the job becomes refacing, which follows a longer process.
What determines the cost to replace cabinet doors?
The door price depends on how many doors and fronts you order, their sizes, the construction and material, the profile, and whether they ship unfinished or primed. The installed cost adds final finishing, hinges and boring, pulls, preparation of the exposed box surfaces, delivery, and installation labor. Compare quotes only after you've written down which of those items each one includes.
Can you reuse existing cabinet hinges and pulls?
Sometimes, and compatibility matters more than condition. A reused hinge has to match the new door's boring and mounting and suit the overlay or inset application you're building to. Reused pulls need the new doors bored at the same hole spacing, so record that spacing on the schedule before you order.
Can you replace one cabinet door and match the others?
You can match the physical fit exactly by measuring the existing door and specifying the same hinge and boring. Matching the appearance takes a sample, because profiles change over time and finishes age. Manufacturers build from their own available profiles rather than copying an old custom one, and the final color is blended on site by your finisher. We take single-door orders, so order a sample first and approve it against the existing door.
How should you plan the replacement-door timeline?
Work in stages: measure and finalize the schedule, get a current quote and confirm the timing on the order acknowledgement, receive and check the delivery, finish the doors and let them cure, then install and adjust. Each stage has its own owner and its own timing, and the total is the sum of all five rather than a fixed number for the job.