

How to Install Dovetail Drawers in Five Clear Steps
Published by
Blake-Schwartz
on
A dovetail drawer that binds, sits proud, or forces drawer-front rework often traces back to a fit or preparation problem that was missed before the runners went in. This guide takes you through the installation in dependency order. Use the current manufacturer sheet for your exact slide model whenever you need hole locations, setbacks, fasteners, or adjustment ranges.
In this article:
- Match your dovetail drawer box to the slide system
- Gather the tools and materials
- Install the drawer in five steps
- Diagnose binding, rocking, and proud fronts
- Size the next drawer box correctly
- Complete the final installation check
- Get answers to common installation questions
Match your dovetail drawer box to the slide system
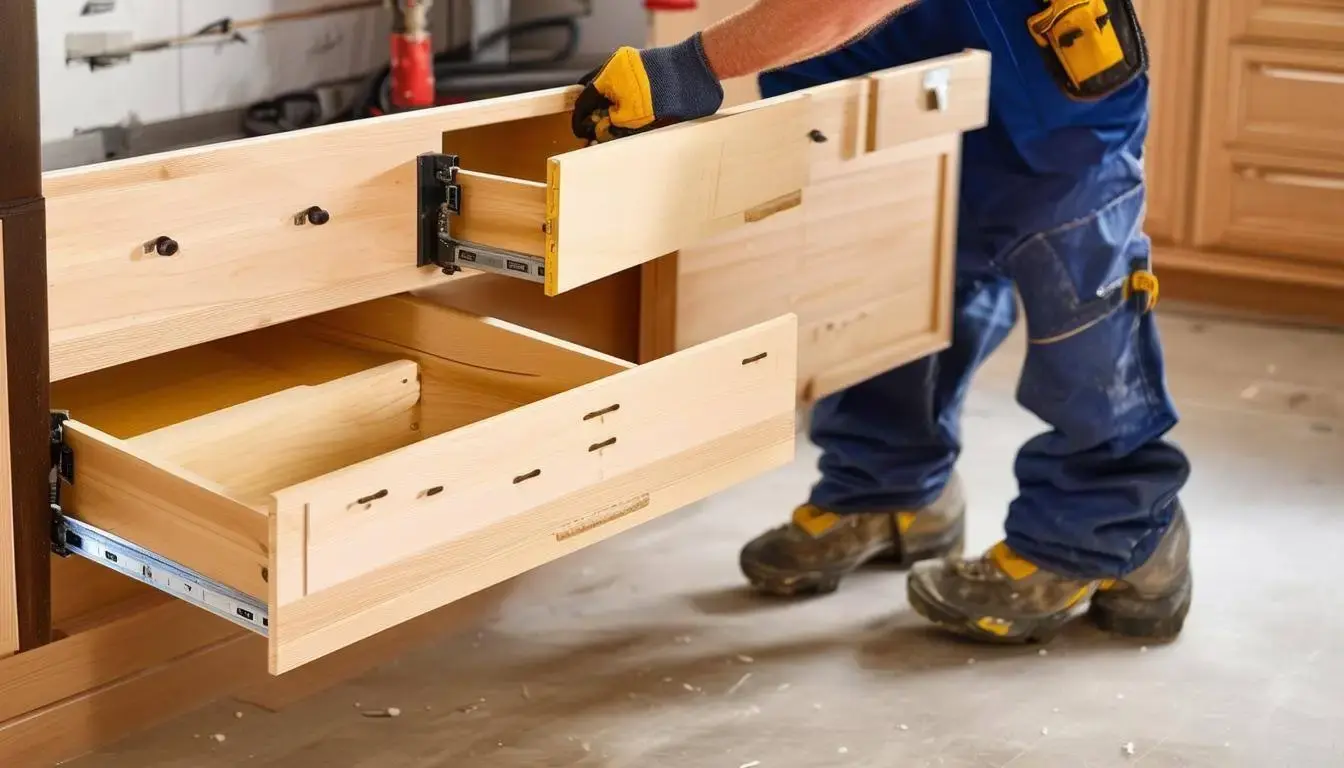
Eagle's standard dovetail drawer boxes arrive fully assembled, with half-blind joints that are CNC-cut, hand-assembled, and sanded flush along the top edges. Installation involves four separate parts: the runners inside the cabinet, locking devices beneath the front of the drawer box, the prepared box itself, and a separate drawer front when the cabinet design uses one.
The box preparation has to match the hardware. Undermount dovetail drawer slides require a notch and bore in the drawer back plus enough space beneath the recessed bottom. Ball-bearing sidemount slides require no notch or locking devices. The five steps below follow the undermount path because it includes all four parts. Follow the hardware maker's procedure for a sidemount installation.
Tools and materials for dovetail drawer installation
Have the following items ready before drilling:
- The prepared drawer box and its order dimensions
- A matched runner pair and compatible locking devices
- Rear mounting brackets or blocking when the cabinet requires support behind the runners
- Fasteners specified by the hardware manufacturer
- A drill with the required bits
- A tape measure, square, and level
- A pencil and consistent spacers
- The separate drawer front, when used
Keep the current installation sheets for both the runners and locking devices on hand. Those sheets control the model-specific layout and fastening details.
How to install dovetail drawers in five steps
1. Verify the box, opening, and hardware preparation
Start with the delivered box and the order. Confirm the outside dimensions, then check that the notch, bore, and bottom recess match the hardware in front of you. Blum Tandem uses a 1-3/8-inch notch, Blum Movento uses a 2-inch notch, and Movento with TIP-ON uses a 5-inch notch. Eagle's standard bottom is recessed 1/2 inch. A 3/8-inch, flush, or overlay recess leaves no room for undermount hardware.
Now check the cabinet. Confirm the opening width and height, box depth against slide length, and approximately 1/2 inch of rear clearance for undermount hardware. Check the opening for square and note the cabinet construction. A protruding door hinge reduces the usable opening and may require another width deduction. Pause the installation when the box dimensions, preparation, hardware, or cabinet conditions disagree. Locking-device adjustment cannot absorb a basic fit mismatch.
2. Mount or verify the cabinet runners
Undermount runners fasten inside the cabinet. Establish one reference for both sides, then set the runners square to the cabinet front, parallel to each other, level with each other, and at matching depth. A small error here follows the drawer through its full travel.
Face-frame cabinets need an additional support decision when the runners sit away from the cabinet sides. You can add suitable blocking or use rear mounting brackets, depending on the cabinet and hardware. Rear brackets are optional and are sold separately from the standard kit. Setbacks, hole patterns, bracket positions, fasteners, and final mounting details come from the current sheet for the exact runner.
3. Attach the locking devices and engage the box
Compatible locking devices, also called clips, fasten beneath the front of the prepared drawer box. They connect the box to the runners and provide post-install adjustment. Blum Tandem kits use Blum locking devices, with six-way clips as Eagle's default Tandem configuration. Movento uses Movento two-way clips.
Fasten each device according to its installation sheet. Set the box on the runners and push it closed until both sides engage. Pull forward lightly to confirm that both devices have locked onto their runners, then open and close the box through its full travel. Resolve any binding or rocking before adding the separate front.
4. Fit and attach the separate drawer front
The drawer front is sold separately from the drawer box. Some applications use the drawer-box front as the exposed finished face, in which case this attachment step does not apply.
For a separate front, use a reversible holding method that suits the front material and set the reveals with consistent spacers. Check the front against the surrounding doors and drawers. Run the drawer through its full travel while the front is still adjustable, paying close attention as it enters the opening. Once the reveals and clearances hold through that movement, fasten the front permanently using the method appropriate to the front material.
5. Adjust the drawer and retest the complete assembly
Begin adjustment after both locking devices are engaged and the runners have passed the alignment check. Depending on the TANDEM configuration, the clips may provide side, height, depth, and tilt adjustment. The current locking-device sheet identifies the available directions, controls, and ranges for your hardware.
Make one change, cycle the drawer, and inspect the result before making another. Recheck full travel, engagement on both sides, front reveals, and clearance around adjacent doors or drawers. This sequence keeps a clip adjustment from masking a runner or fit problem.
Expert Eagle Insight
Here at Eagle, one detail we regularly see missed on drawer orders is the notch. Every undermount slide system has a specific notch requirement cut into the back of the drawer box - Blum Tandem takes a 1-3/8" notch, Movento takes 2", and Movento with TIP-ON needs a full 5". When you order slides from us, the right notch is applied automatically. But plenty of shops run drawer boxes on slides they source themselves, and that's where orders can go sideways: the order comes through on our default, the boxes arrive perfectly built, and the hardware waiting on the bench needs a wider notch. It's not a hidden setting - our order form has a notch selection on every drawer line, and clicking the label opens a quick reference listing the most common sizes by hardware brand. But it's an easy field to sail past when the default looks fine, and we can only cut to match your slides - Salice, Grass, KV, Accuride, or anything else - if the requirement makes it onto the order.
The good news is that this mistake is recoverable: notch width can be opened up in the field after the drawers are delivered. But now you're re-cutting a finished dovetail box on a job site instead of installing it, and that's one more thing to get right under deadline. Thirty seconds on the notch field - or a note with your slide model or a photo of the hardware label - moves that work back into our shop, where it belongs. If you're not sure what notch your hardware needs, send us the slide model and we'll spec it for you before anything gets cut.
Troubleshoot a drawer that binds, rocks, or sits proud
Diagnose the drawer in the same order it was installed. Confirm the outside box dimensions and rear clearance first. Then inspect runner alignment, locking-device engagement, the adjustments available on the hardware, and the position of the separate front.
A drawer that binds through most of its travel may have insufficient clearance or runners that are out of square or no longer parallel. Rocking can point to incomplete engagement on one side or runners set at different positions. A front that begins rubbing as the drawer reaches the cabinet often points to front placement or a supported clip adjustment.
Return to the earliest check that explains the symptom. Correct the dimensions or box preparation when the hardware does not match. Correct the cabinet mounting when the runners are out of position. Use the locking-device adjustments after those conditions have been cleared.
Size and specify the next drawer box before you order
Cabinet-opening measurements are the inputs for calculating the actual outside drawer-box dimensions. Eagle builds the outside dimensions entered on the order form, so confirm the slide model, notch, bore, bottom recess, slide length, cabinet construction, rear clearance, and hinge intrusion before submitting the order. Eagle's drawer measuring instructions cover the measurements in more detail.
For undermount hardware, subtract 5/8 inch from the opening width for a 1/2-inch box or 3/8 inch for a 5/8-inch box. Subtract at least 13/16 inch from the rough opening height, match the box depth to the slide length, and allow approximately 1/2 inch behind the drawer. Eagle accepts ordered dimensions to the nearest 1/16 inch and builds to a tolerance of plus or minus 1/32 inch. Project-specific fit remains the installer's responsibility because the cabinet box, face frame, hinges, and surrounding hardware cannot be verified remotely.
Finish with a full-travel installation check
The early measurements pay off at the final movement check. Run the drawer through its full travel, compare the reveals with adjacent fronts, confirm both locking devices remain engaged, inspect every fastener, and watch the clearances as the drawer closes. When the next job calls for boxes prepared for the hardware you plan to install, order custom dovetail drawer boxes to the outside dimensions you have verified.
FAQs
Do dovetail drawer boxes need special slides?
A dovetail drawer box can use undermount or ball-bearing sidemount slides when the box is configured for that hardware. Undermount slides require a compatible notch, bore, and bottom recess. Sidemount slides use a different clearance calculation and require no notch or locking devices.
What is the difference between drawer runners and locking devices?
Runners mount inside the cabinet and carry the drawer box through its travel. Locking devices, also called clips, fasten beneath the front of an undermount drawer box. They secure the box to the runners and provide the adjustments supported by that hardware configuration.
Do I need rear mounting brackets in a face-frame cabinet?
Rear mounting brackets are commonly needed when the runners sit away from the cabinet sides and you are not adding blocking. The cabinet and runner configuration determine the support method. Brackets are optional and are sold separately from the standard kit.
Why will my dovetail drawer not lock onto the slides?
Check that the locking devices match the runners, both devices are mounted according to their sheet, and the box is seated on both sides. Then confirm that the notch, bore, bottom recess, and runner positions match the selected hardware before trying to force engagement.
Can I reuse existing slides with a new dovetail drawer box?
Existing slides can be reused when they remain suitable for the job and the new box matches their requirements. Measure the outside dimensions of the current drawer box, identify the slide model and length, and order the new box with the correct notch, bore, bottom recess, and clearances.
Tags:
Drawers